


Using Pre-Shipment Inspections to Ensure Product Quality and Satisfaction
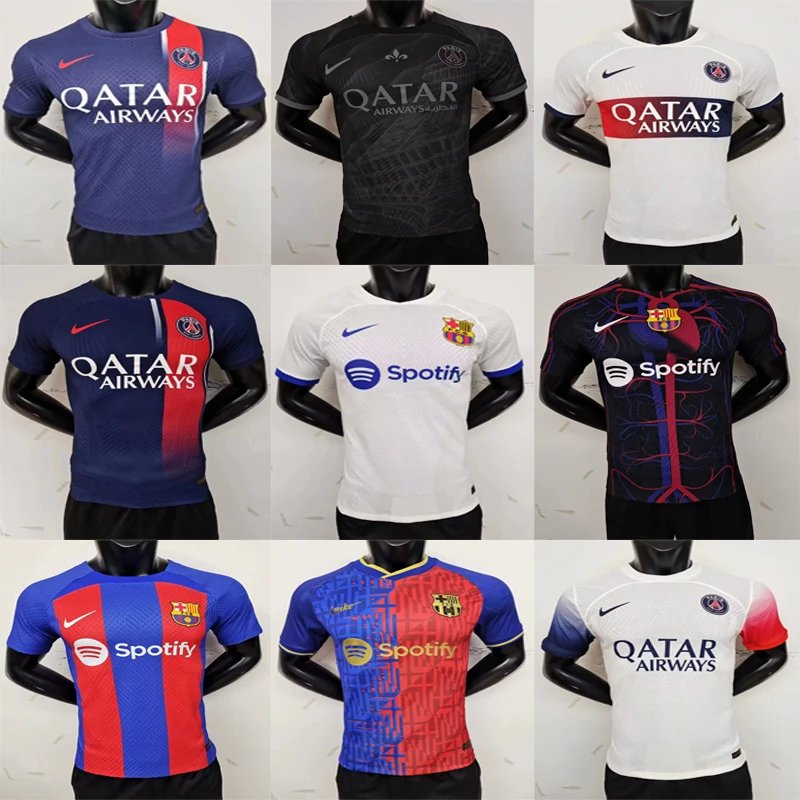
QC photos are your critical window into product reality before shipment.
Key Areas to Inspect with Precision
1. Stitching & Construction
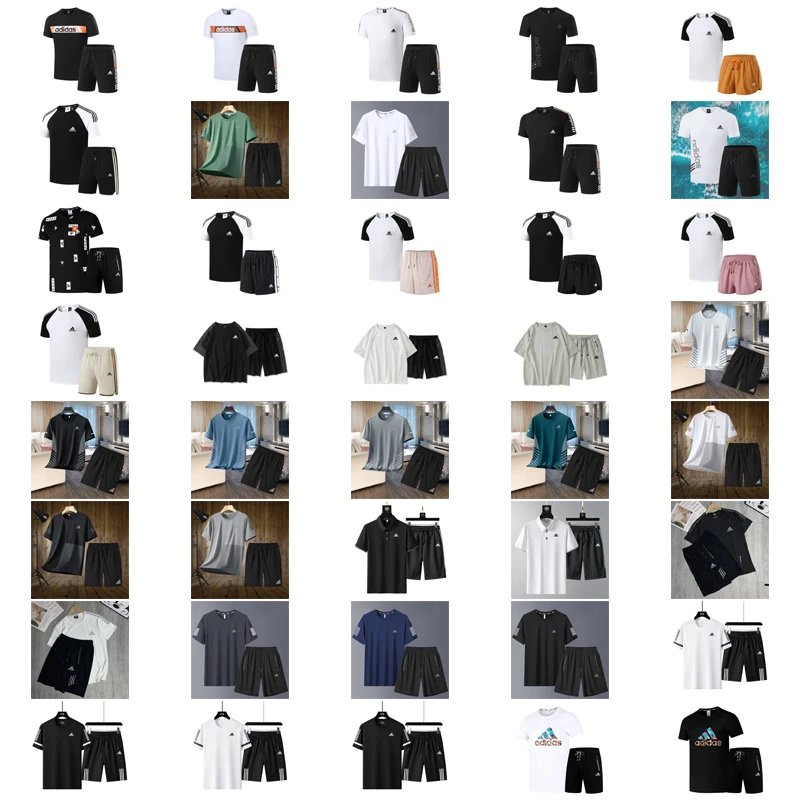
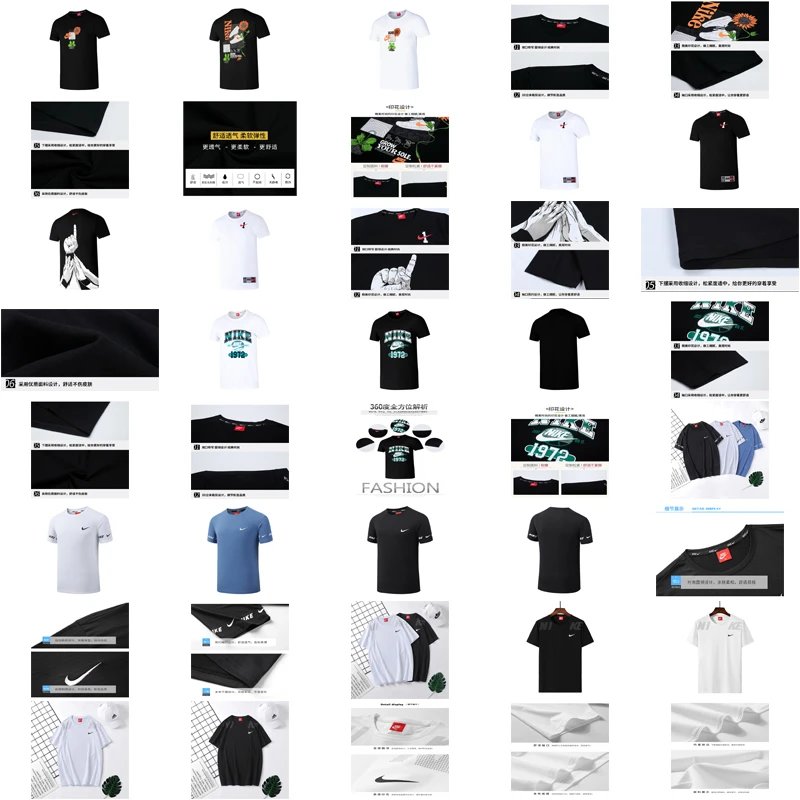
Zoom in on seams and joints. Look for consistent, straight stitching with no loose threads, skipped stitches, or uneven spacing. Check stress points for reinforced stitching.
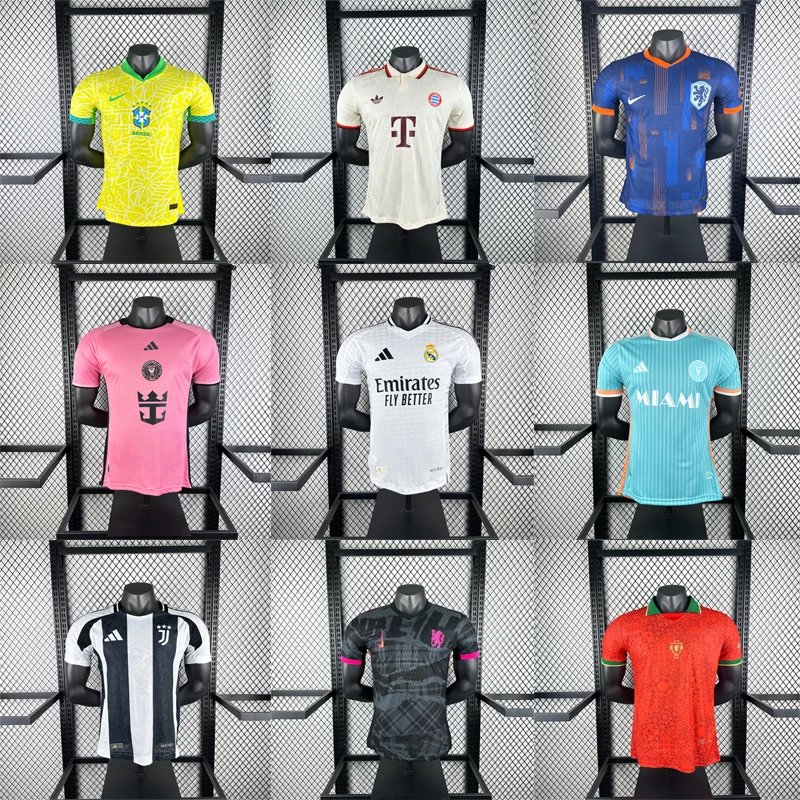
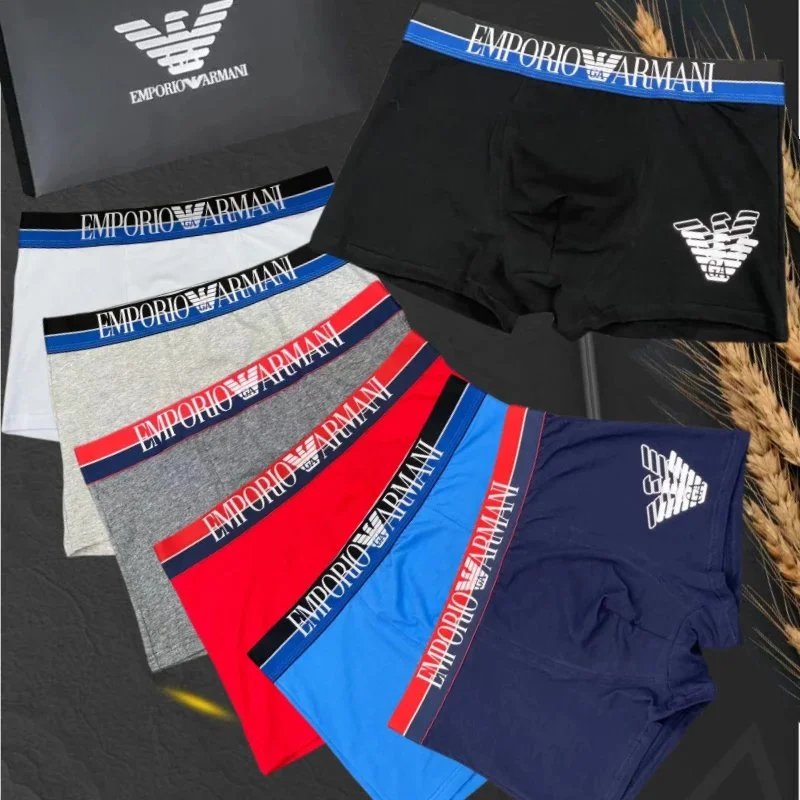
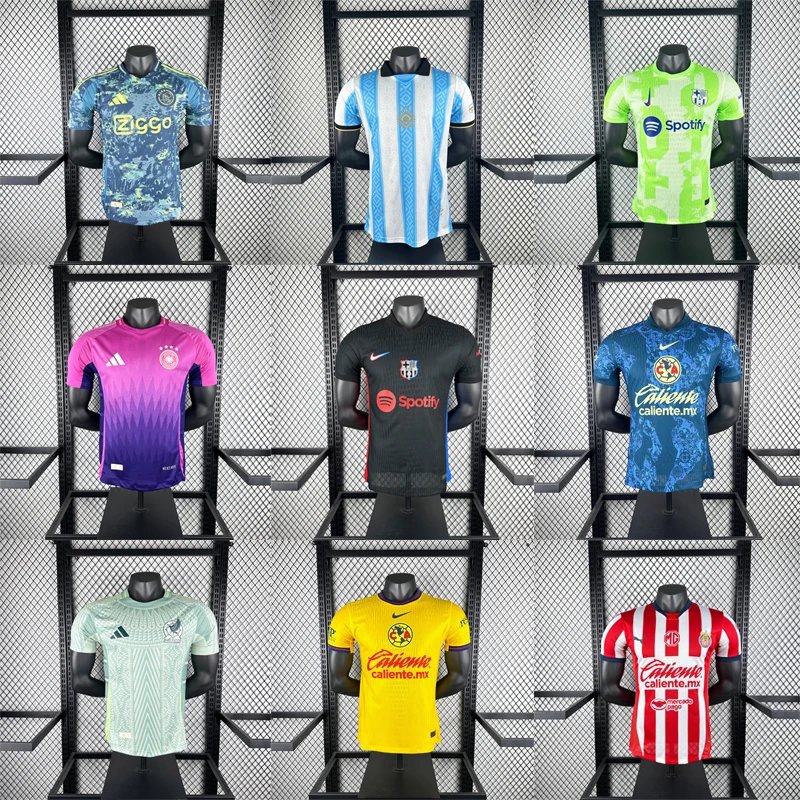
2. Color Accuracy & Material
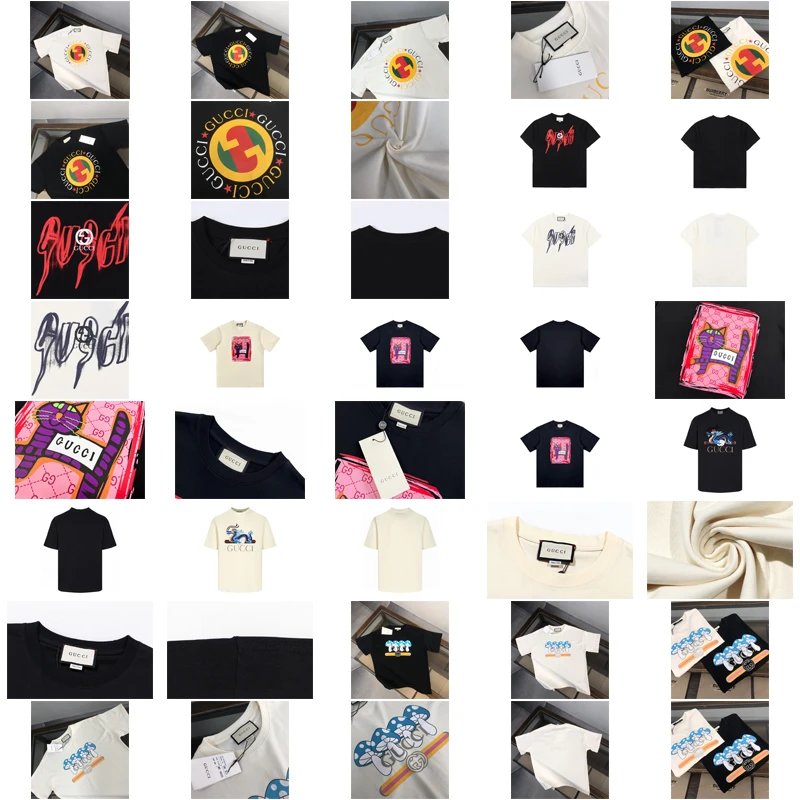
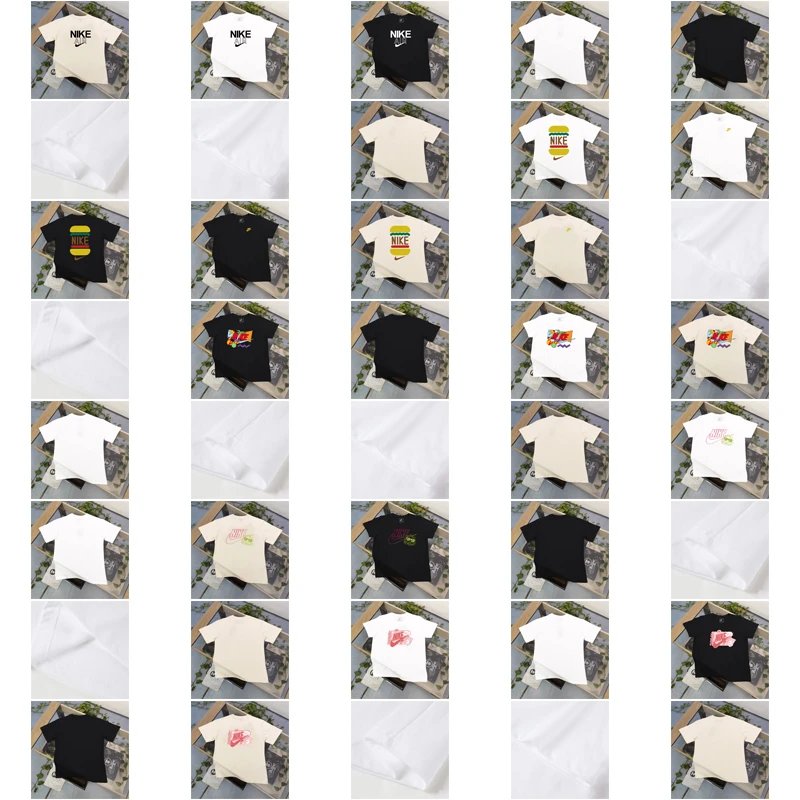
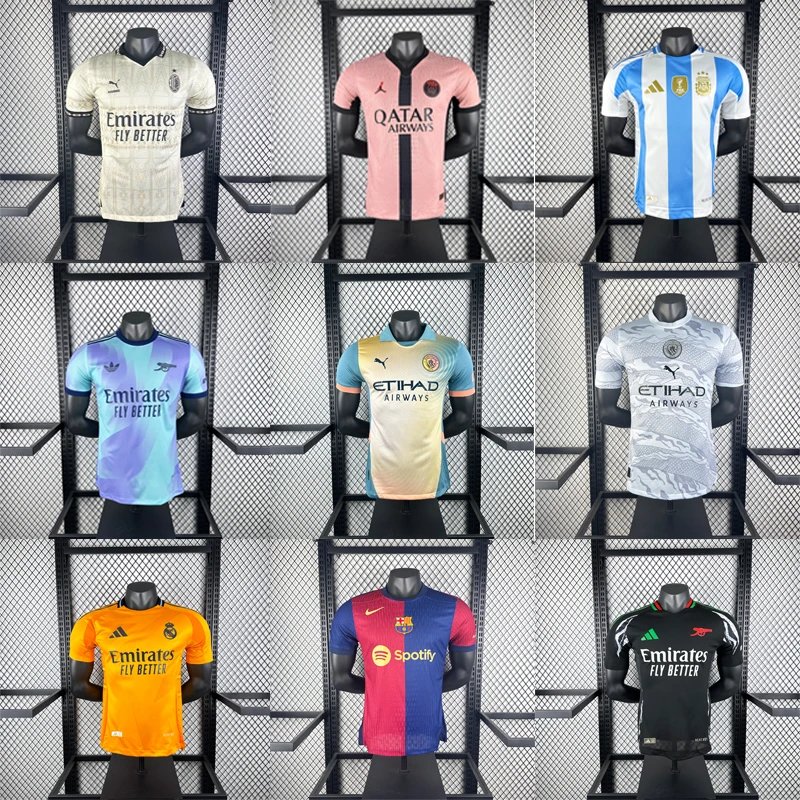
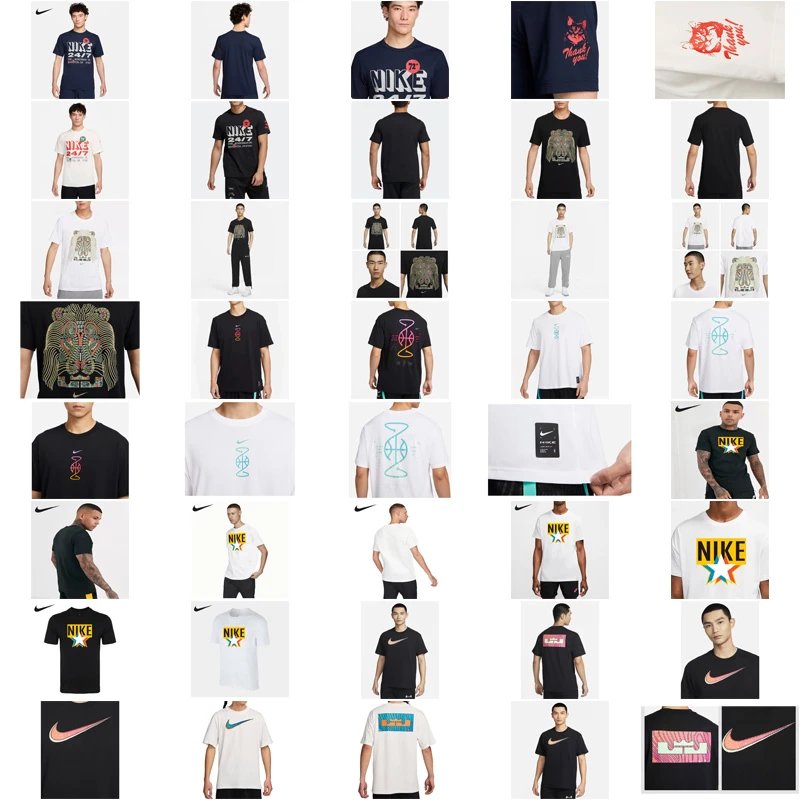
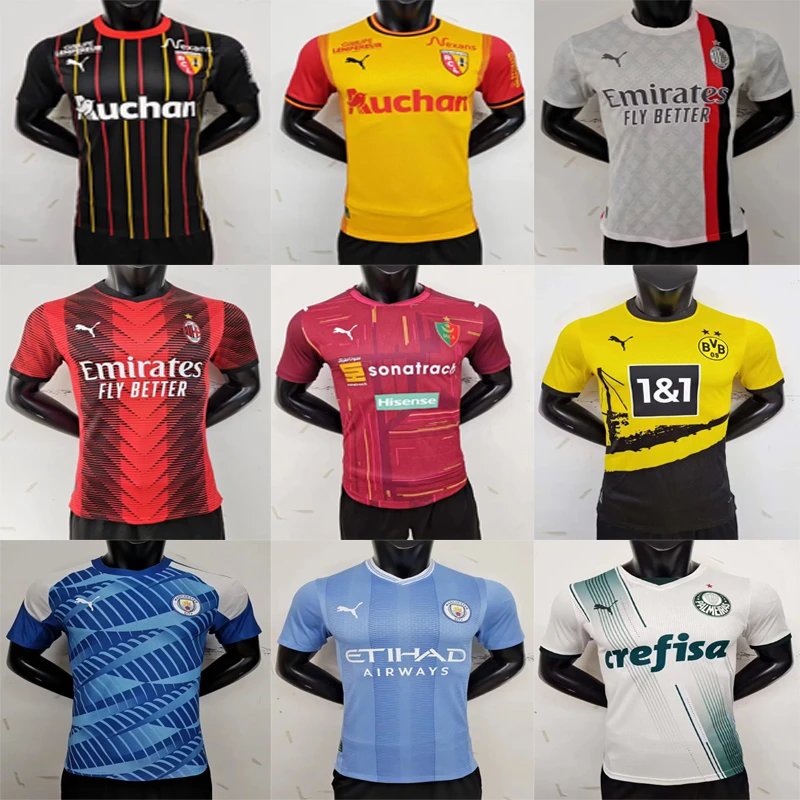
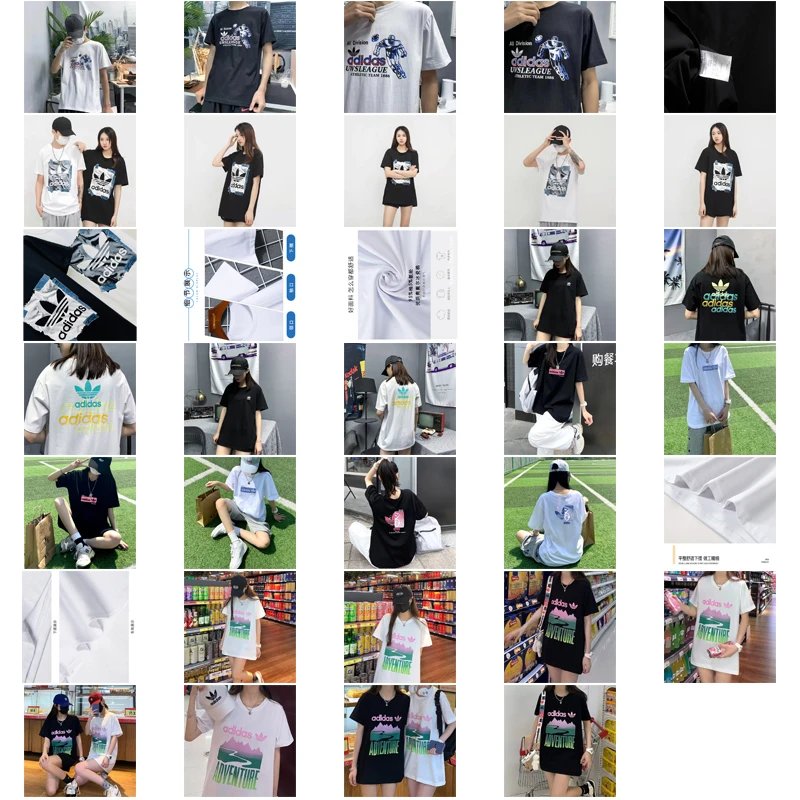
Compare the photo colors to your Pantone or approved swatch. Assess material drape, texture, and consistency across all parts. Watch for stains, discolorations, or material flaws.
3. Logo & Label Placement
Verify exact positioning, alignment, symmetry, and clarity of printed or embroidered logos. Check care labels for correct information and secure attachment.
4. Overall Workmanship & Finishing
Examine overall symmetry, proper alignment of parts (e.g., pockets, sleeves), and neatness of finishing touches like buttons, zippers, and hardware.
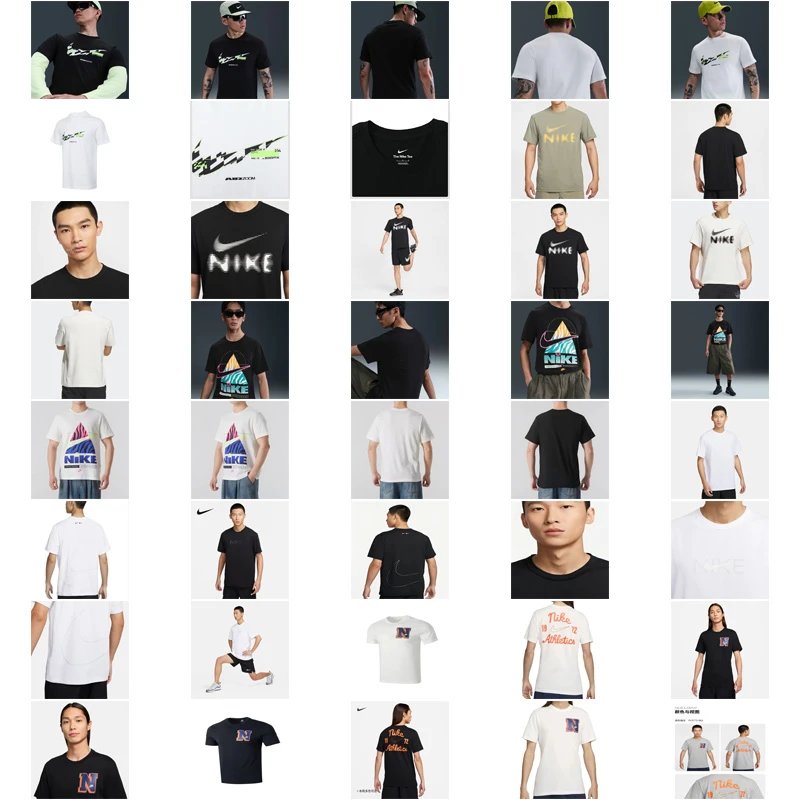
Mastering the CNFANS QC Photo Viewer
- Zoom & Pan:
- Multiple Angles:
- Comparison Method:
- Lighting Assessment:
- Annotation & Feedback:
- Multiple Angles:
Effective Approval Workflow
- Systematic Review:
- Document Questions:
- Communicate Clearly:
- Final Verification:
- Document Questions: